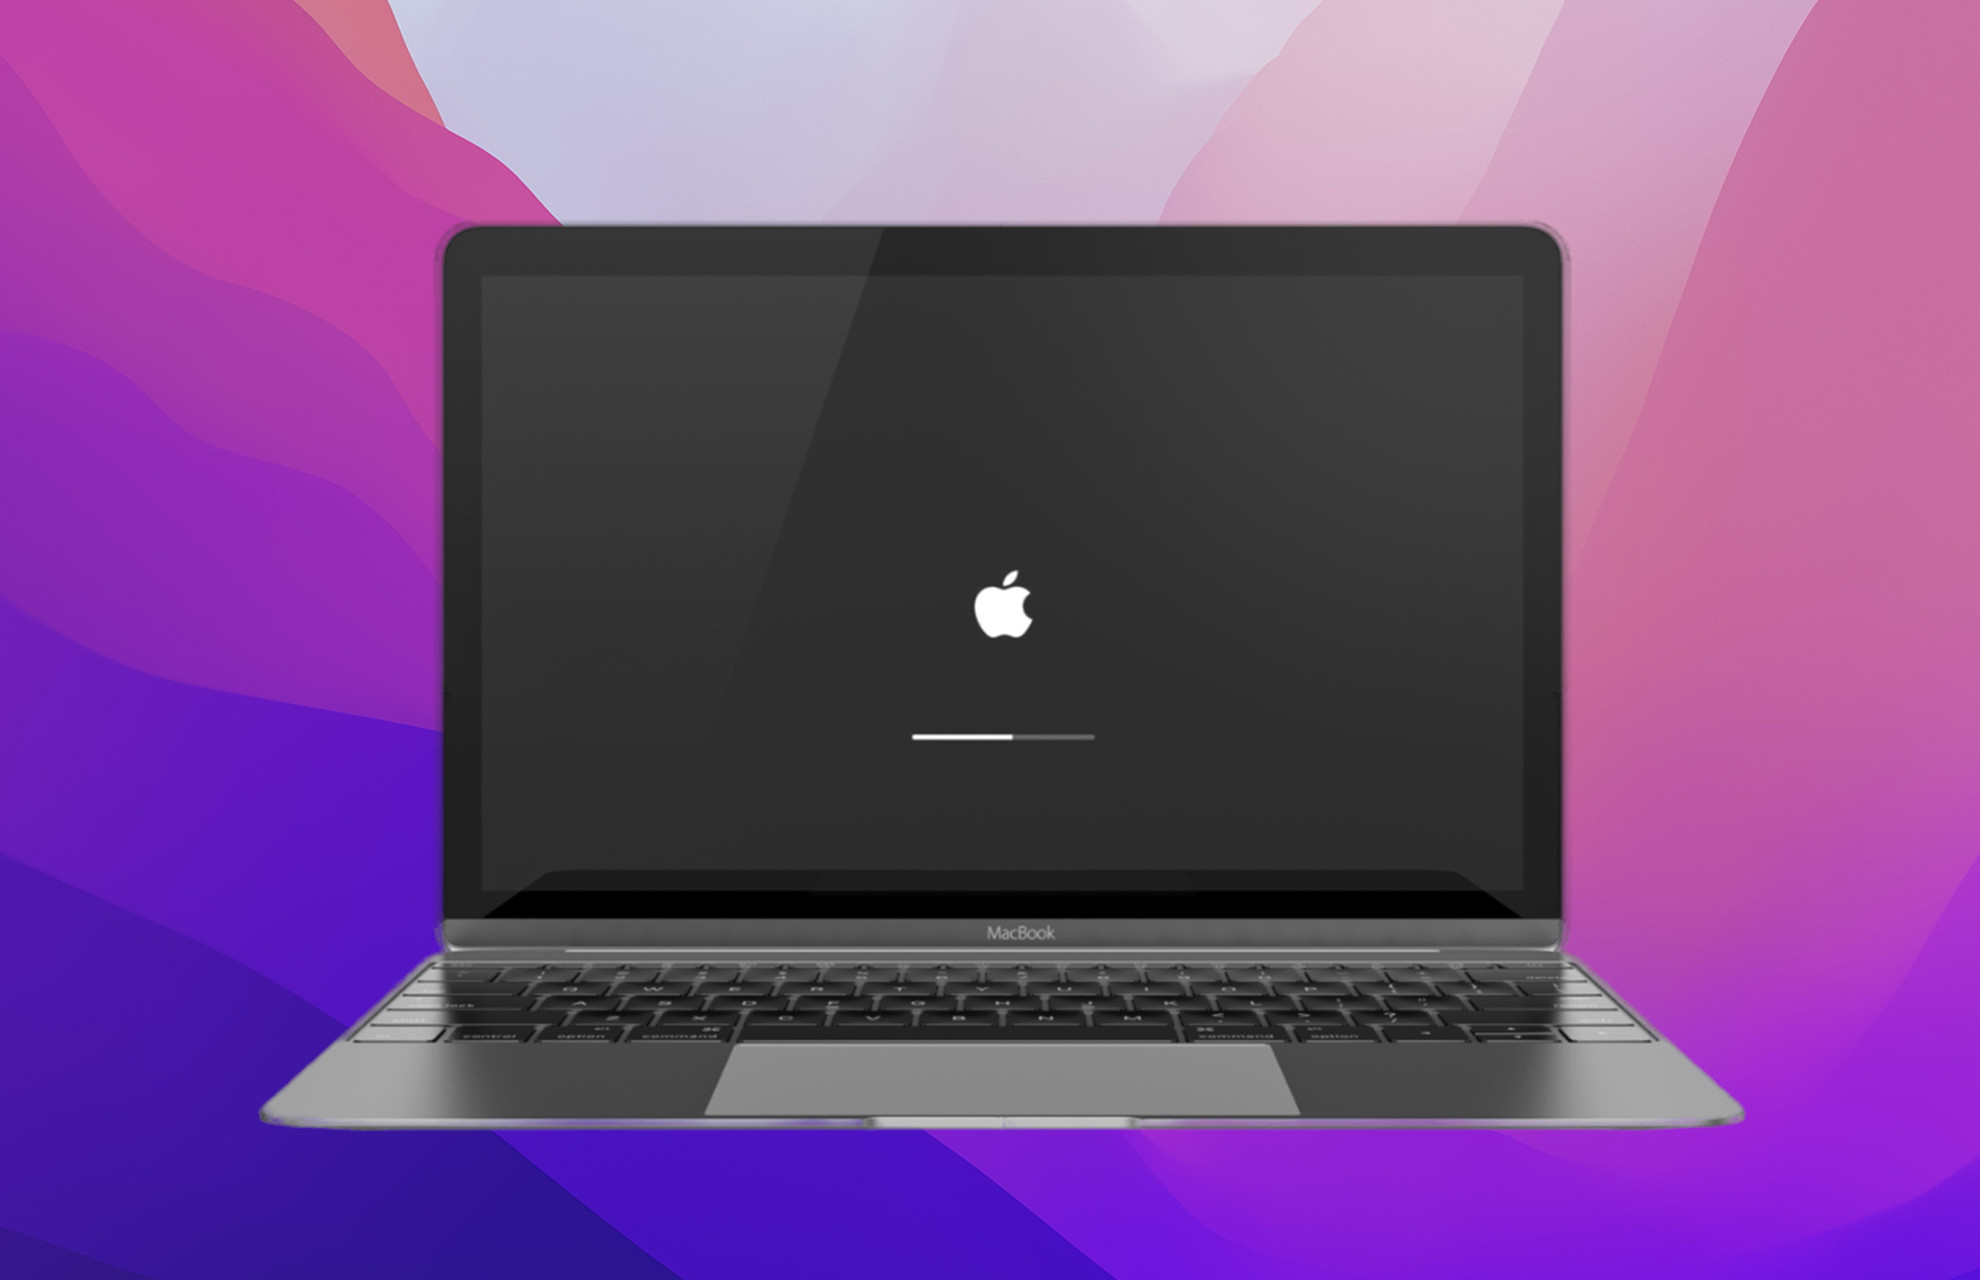
There is a common problem afflicting MacBook owners: their computers get stuck on the login screen. This problem can affect different versions of macOS from Big Sur to Catalina.
In fact, Mac machines getting stuck whether it’s this or stopping mid-update is a pretty common occurrence. Despite how prevalent this issue is, it can be pretty tricky to solve this issue for most users. It involves performing very specific actions on your MacBook.
What causes the login problem on my MacBook?
The login problem on MacBooks can be caused by a variety of reasons:
- Incompatibility problems between macOS and apps – This can be caused by some kind of bug or glitch in the software.
- Something is corrupted on your computer – This can be a corrupted hard drive or files present on your system. It can be either or.
- Malware infecting your computer – If it is for this reason, we strongly recommend downloading some antivirus software to get rid of it. The best ones also cover Windows computers just as well.
- Malfunctioning battery – One example is when a MacBook battery gets stuck at one percent meaning it won’t charge beyond that amount. Be sure to read our guide on how to fix this problem.
What can I do if my MacBook gets stuck on the login page?
There are a few things that you can do to fix the login problem on MacBooks that don’t require a whole lot of instruction or technical knowledge. It’s all pretty straightforward:
- Restart your computer. Press and hold the Power button on your Mac for ten seconds, but turn it back on.
- Disconnect all peripherals connected to your MacBook.
- Check your charging cable and make sure it’s plugged in all the way. Also, ensure the port is clean. Dirt and grime can cause battery problems which in turn results in the log in issue.
- Take your MacBook for servicing. There could be something wrong with the hardware. We strongly recommend going to the Mac Repair & Service page to make an appointment at an authorized store to fix your computer.
1. Run First Aid
- First, you will need to open Disk Utility on your MacBook. If your MacBook has an Apple CPU (like the M1 chip), restart your computer, press and hold the Power button to see Startup Options, click the gear icon, and then Continue.
- If your CPU has an Intel CPU, restart your computer, press and hold the Command and R keys at the same time until you see the Apple logo appear.
- Under macOS Utilities, select Disk Utility.

- Click the arrow in the upper left-hand corner and select Show All Devices.

- Select your Mac’s disk. In this example, we’ll choose macOS Base System.
- After highlighting, click First Aid at the top of the window.

- Click Run when the pop-up appears. This will attempt to repair the disk. Select Done when it’s finished.
- Close Disk Utility, click the Apple logo, and then select Restart.

- If the problem persists after this, redo the same steps but at the end, select Reinstall macOS to, as the name states, reinstall the operating system.
2. Reset your Mac’s SMC
- Resetting your computer’s System Management Controller (SMC) requires slightly different steps depending on whether your MacBook has T2 security to not. If it does, start by turning off your Mac.
- Next, press and hold the Control and Option keys on the left side of the keyboard and the Shift key on the right for seven seconds.
- After the time has passed, press and the Power button alongside the other three keys for an additional seven seconds. Your MacBook may turn on during this point. It’ll turn off soon.

- Let go of the buttons after the seven seconds have passed. Turn your MacBook back on.
- If your computer doesn’t have the T2 chip, start by turning it off.
- Press and hold the Shift, Control, and Options keys on the left side of the keyboard.
- While holding the three keys, press and hold the Power button.
- Hold all the buttons for 10 seconds. Release them after the time has passed, then turn on the MacBook.
3. Reset PRAM/NVRAM
- Shut down your MacBook.
- Restart it and immediately press and hold the Command, Option, P, and R keys on your keyboard for 20 seconds.
- After 20 seconds, release the keys and let your Macbook finish rebooting. You may see the Apple logo and hear the startup sound multiple times.
- You may have to change some of the system settings as they may have been reset, according to Apple’s support page.
On newer MacBooks, it may be called PRAM (Parameter Random Access Memory). It’s the part of the computer that stores important settings information about the Mac. In older devices, it’s NVRAM (Non-volatile Random Access Memory). They’re essentially the same.
Earlier we mentioned how to fix your MacBook’s battery getting stuck on one percent. That’s a big one, for sure. We also recommend checking out our guide on what to do if your MacBook Air M2 isn’t detecting an external monitor.
This happens when you try to connect the Air M2 to a non-Mac display using in-box Thunderbolt cables. It just won’t work. You will need a special device that can connect your computer to display. You should also learn how to rotate the screen on your MacBook.
And no, we don’t mean turning the computer sideways. You can even turn it as far as 270 degrees. Most people don’t need to do this, but can be helpful for those who have a vertical screen.
Feel free to comment below if you have any questions regarding these steps. Also, do not hesitate to comment about guides you’d like to see or information relating to MacBooks.