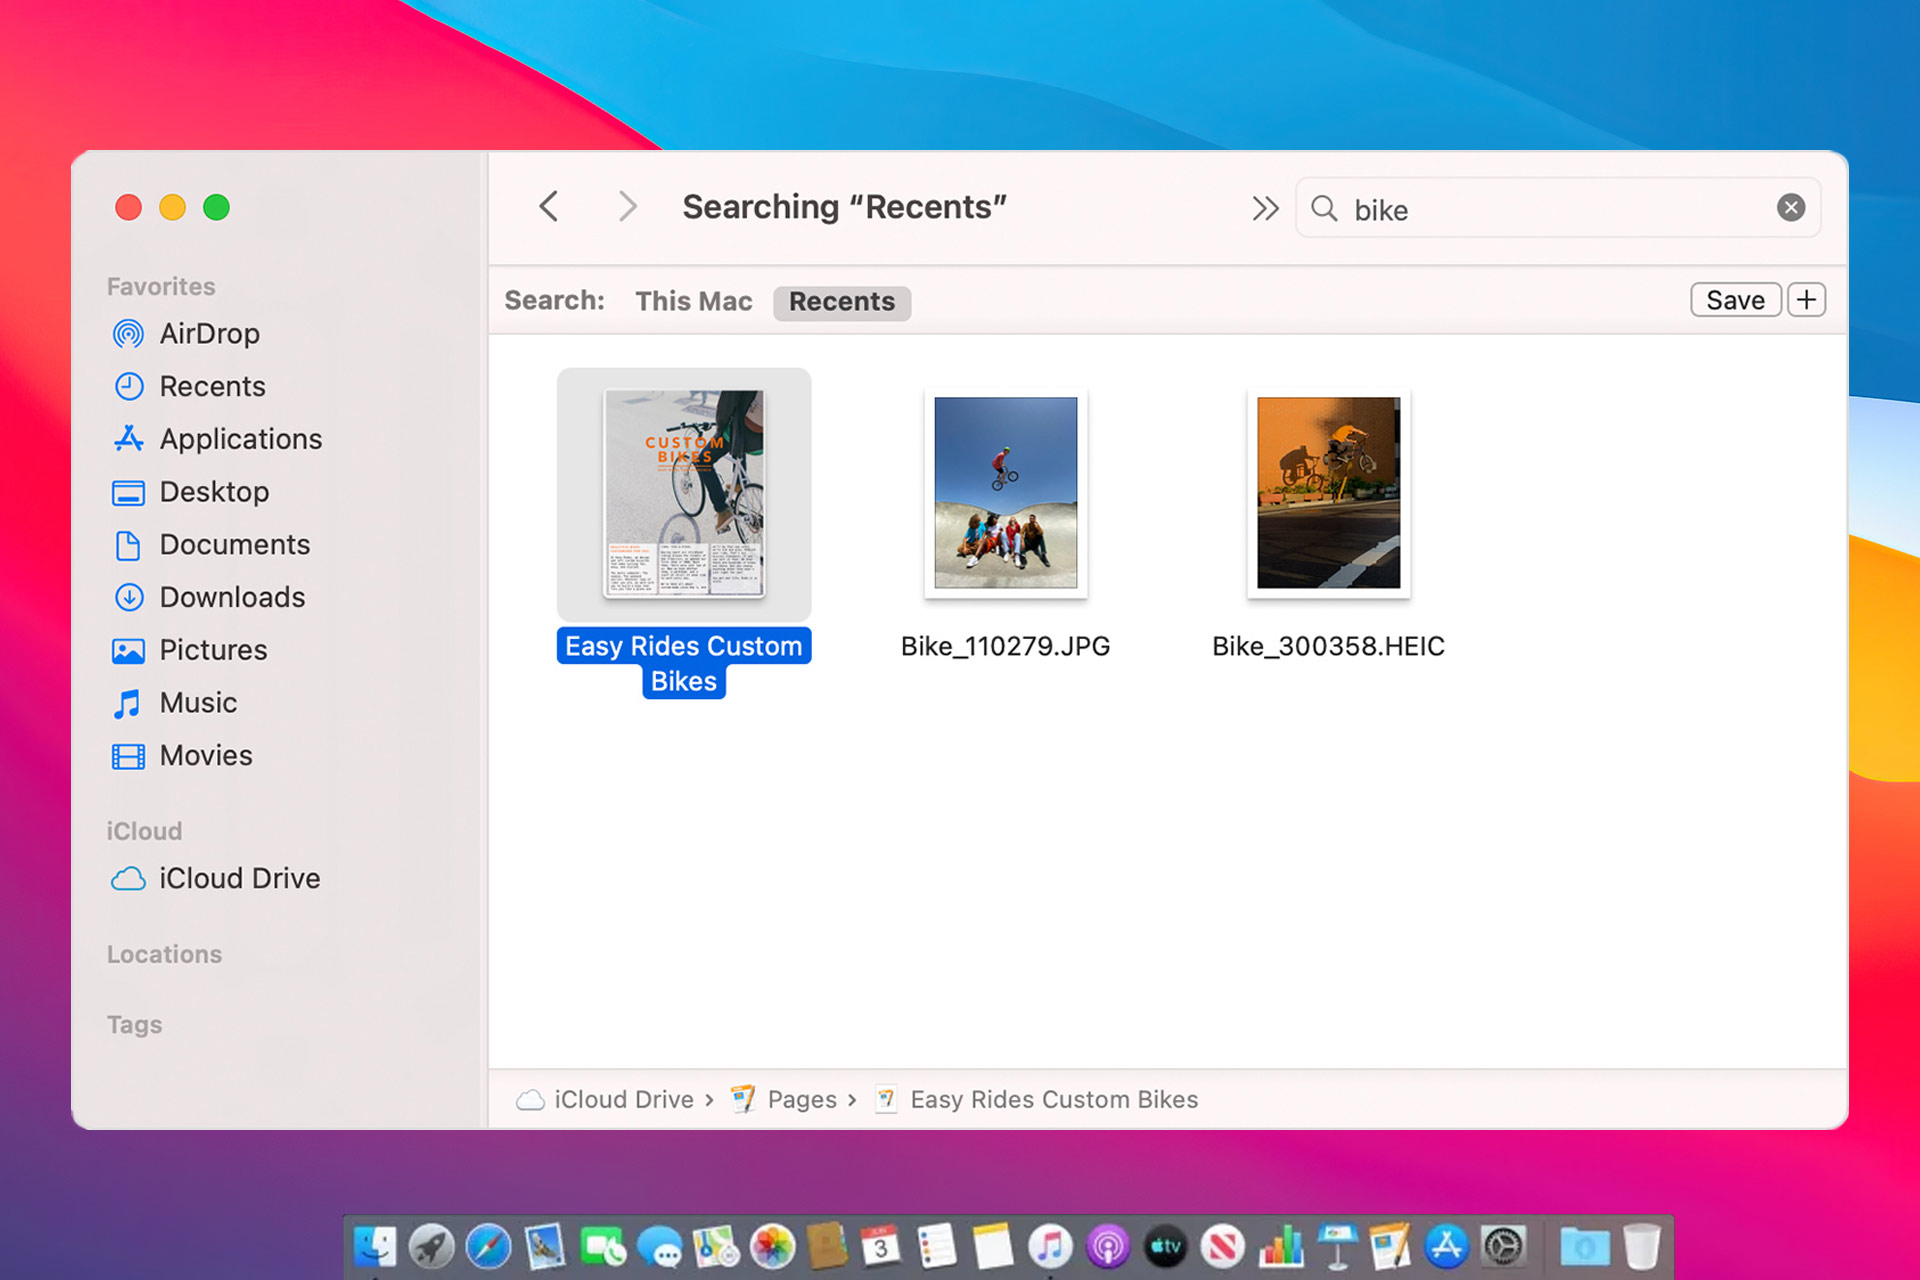
Finder is an essential application on macOS, and it’s used to manage both files and directories. However, issues with Finder can sometimes occur.
Many users reported that Finder isn’t responding on their Mac, and this could be a problem. However, there are several ways to fix this issue.
Why is Mac Finder not showing folders?
This usually occurs due to glitches on your system, and sometimes you just need a quick restart to fix that problem. Restarting Finder can also help with this problem.
It’s possible that Finder is not working on Mac for some other reason, and if that happens, accessing the Safe Mode can help.
We’ll explore this and many other solutions in this guide, so be sure to keep on reading.
What can I do if Finder isn’t responding on Mac?
1. Relaunch Finder
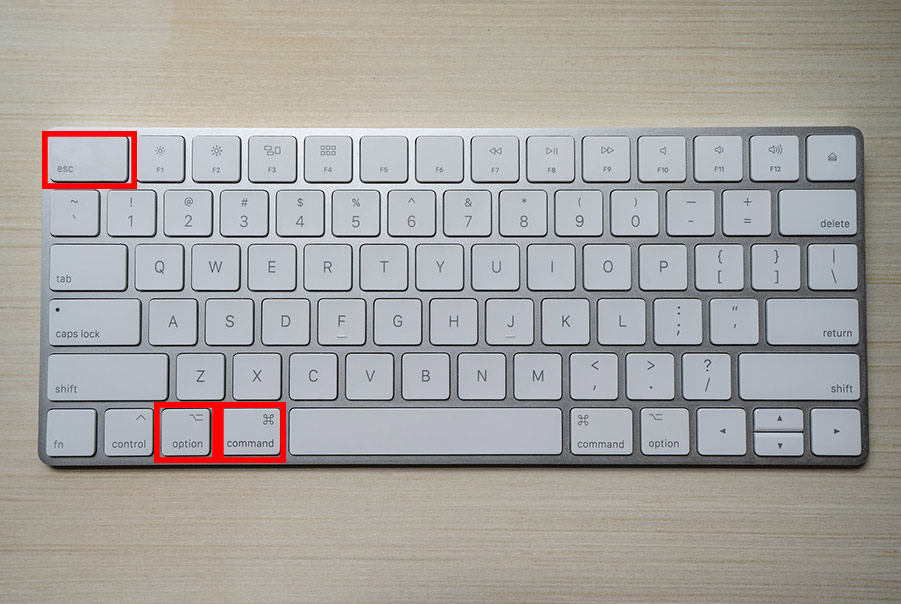
- Press Option + Command + Esc.
- Select Finder from the Force Quit Applications menu.
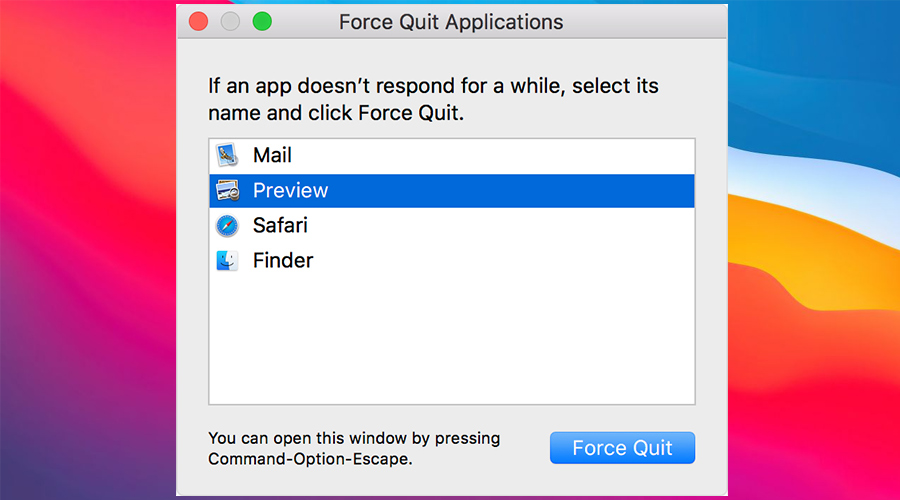
- Click the Relaunch button.
If you ever wondered how to relaunch Finder, then this method should give you all the information that you need. Keep in mind that this is just a workaround, so it might not be the best long-term solution.
2. Delete the com.apple.finder.plist
- Press Command + Shift + G.
- Now enter
~/Library/Preferences/com.apple.finder.plistand click on Go.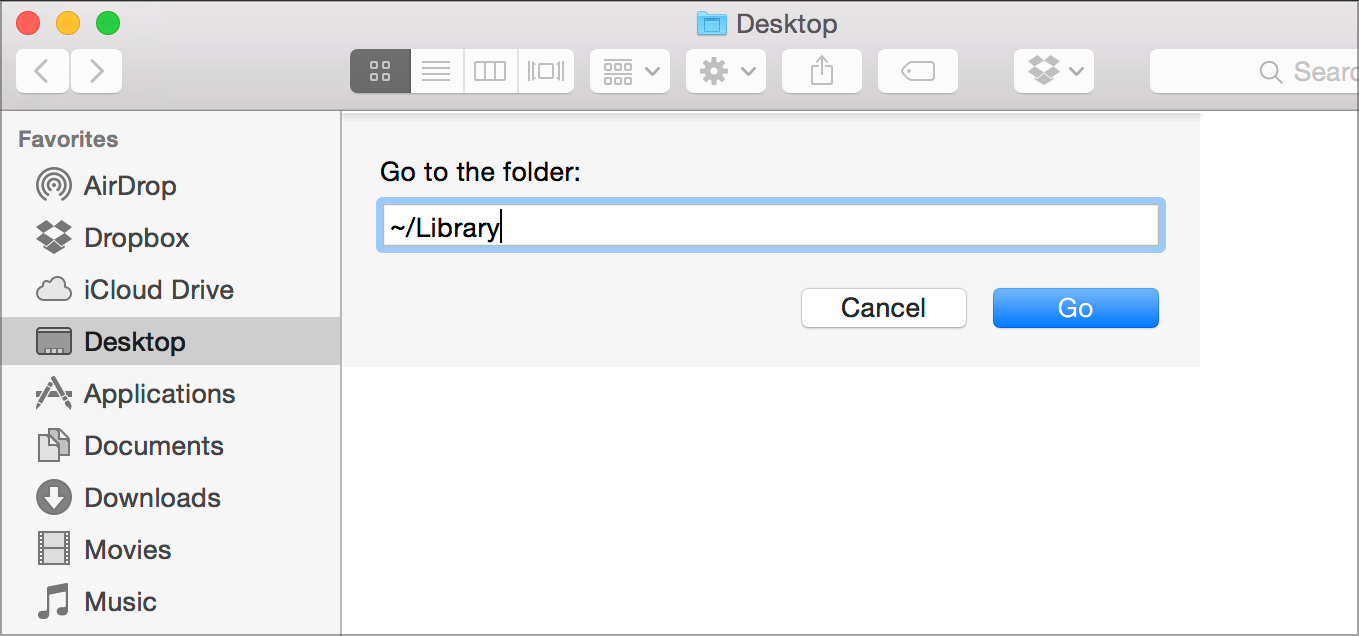
- Locate com.apple.finder.plist and remove it.
- Restart your Mac.
You can also do this with the Terminal:
- Go to Applications and then Utilities.
- Start the Terminal.
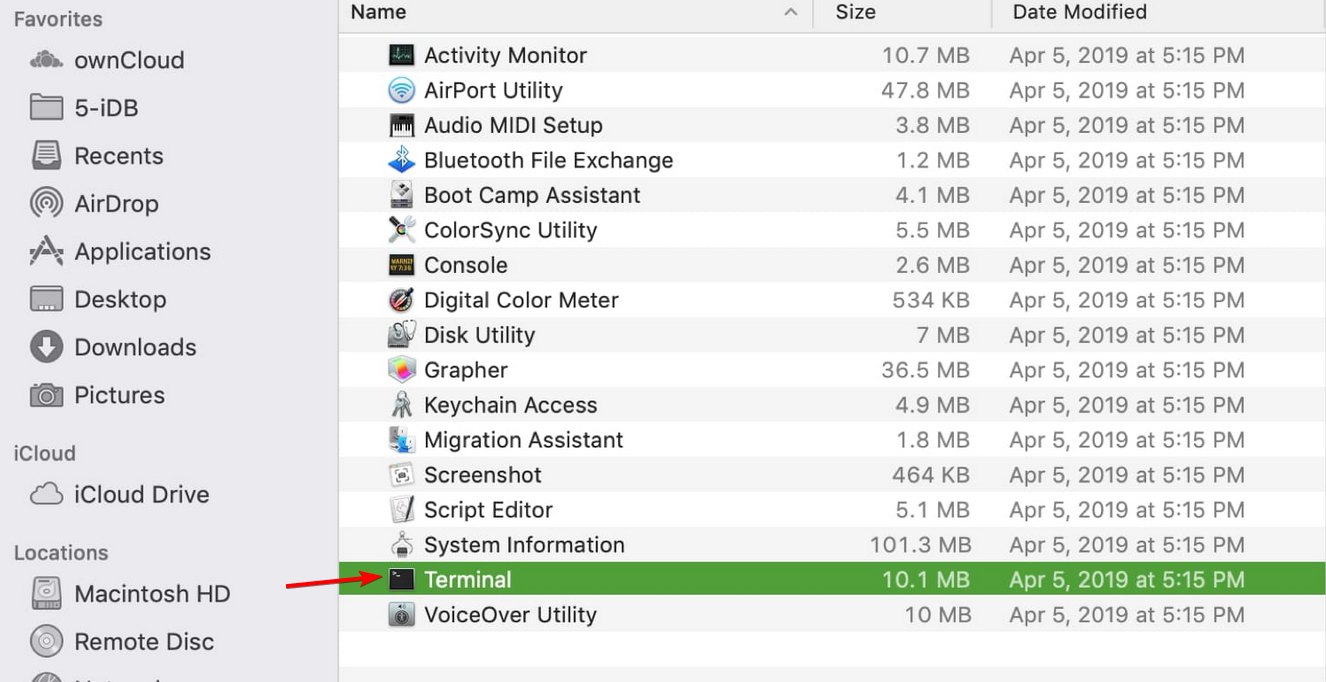
- Run the following command:
rm ~/Library/Preferences/com.apple.finder.plist - Restart your Mac.
If Finder is not opening on Mac, removing the com.apple.finder.plist can surely help, so we encourage you to try it out.
Users reported that this is just a temporary solution, so if you use it, you might see the issue appear again after a while.
3. Free up space
If Finder isn’t responding, it’s possible that your Mac is low on storage space. To fix it, it’s advised to remove some files and check if that helps.
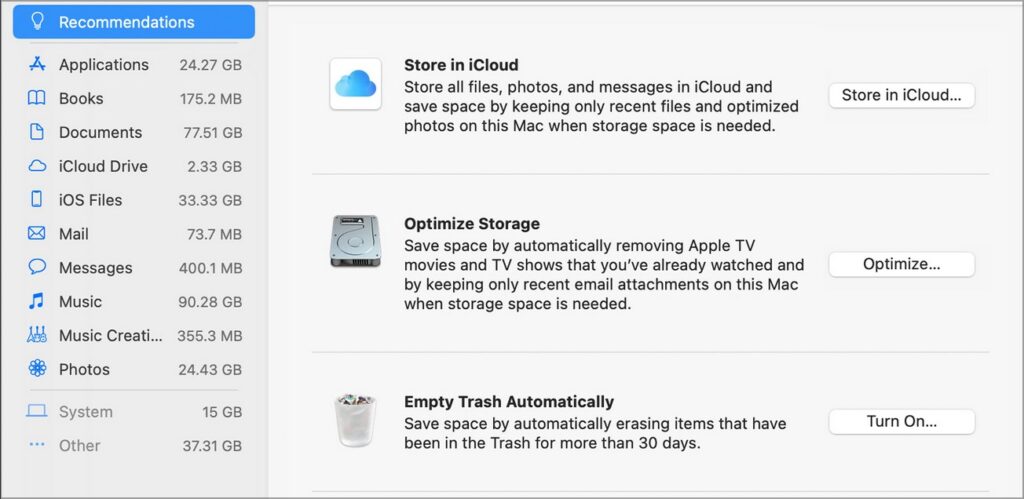
You can activate the Optimized Storage feature on your Mac. This will automatically move rarely accessed files to your iCloud. No data is lost and your device will perform better, and that will hopefully help if Finder is unresponsive.
4. Use specialized software for a thorough cleanup
An alternative to the built-in Optimized Storage feature would be to use a third-party tool.
The reason we suggest this is because these tools can detect clutter with higher precision and help you free up even more space.
Our top recommendation when it comes to third-party Mac cleanup tools is MacKeeper.
It is very simple, yet highly performant:
- Open MacKeeper and run a scan.
- You will get a list of everything that takes up storage space, select what you want to remove.
- Run the cleaner.
When the process is finished, check and see if you can now use the Mac Finder.
Along with removing duplicates, temp files, or cleaning your cache, MacKeeper can also be used as a powerful uninstaller tool that detects any trace of previously removed files and helps you safely uninstall any unnecessary apps.
4. Start Mac in Safe Mode
- Turn off your Mac and start it again.
- Immediately press and hold the Shift button.
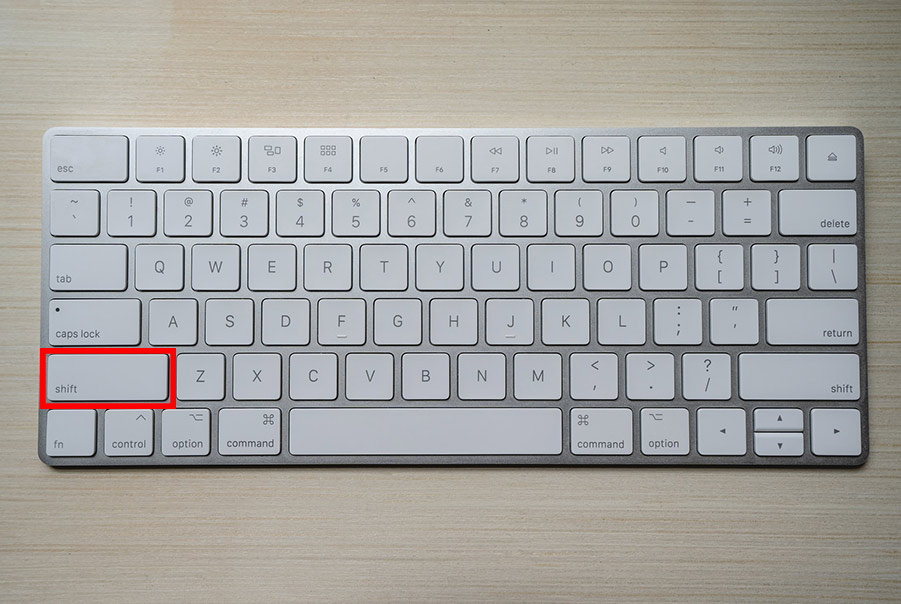
- When the Apple logo appears, release the Shift button.
- Enter your credentials when asked to.
- Open Finder and check if it works properly.
- Restart your Mac and check if the problem is still there.
This might not be a permanent solution, but it should help you if Finder freezes when moving files on your Mac.
Problems with Finder can cause all sorts of issues, but if Finder isn’t responding, be sure to try all of our solutions.
This issue can occur if macOS installation couldn’t be completed or if there’s any damage to your installation, so be sure to install your operating system properly.
What solution did you use to fix this problem? Let us know in the comments section below.

