macOS is a solid operating system, but every operating system can encounter issues. Speaking of which, many users reported that macOS installation couldn’t be completed on their Mac.
This can be a problem and leave your system out of date and potentially vulnerable, but today we’re going to show you how to fix this issue for good.
What can I do if macOS installation couldn’t be completed?
1. Try to update from Safe Mode
- Restart your Mac.
- Press and hold the Shift key while the device boots.
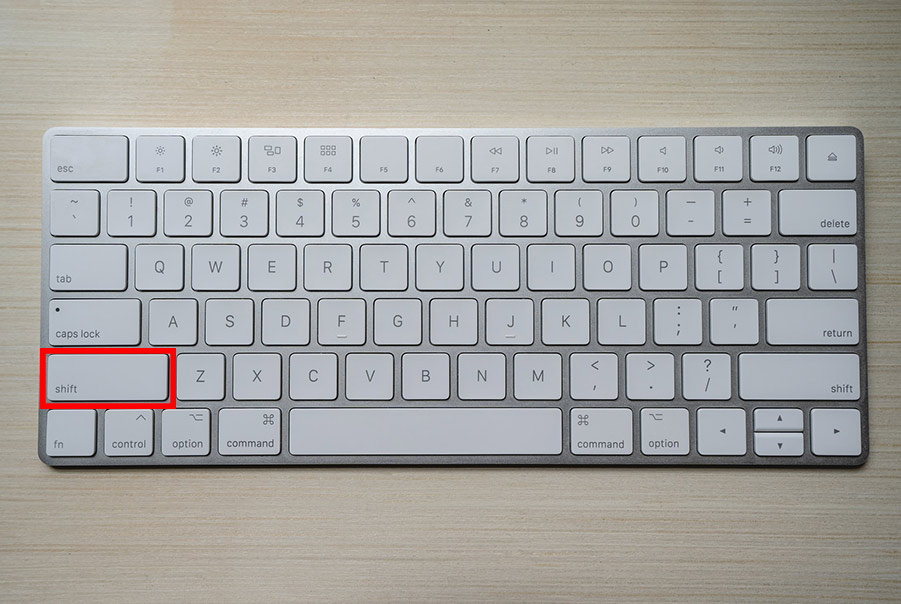
- Release the Shift key once the login window appears and enter your credentials.
- After entering the Safe Mode, open App Store and try to install the update again.
2. Use the Terminal
- Open the Terminal.
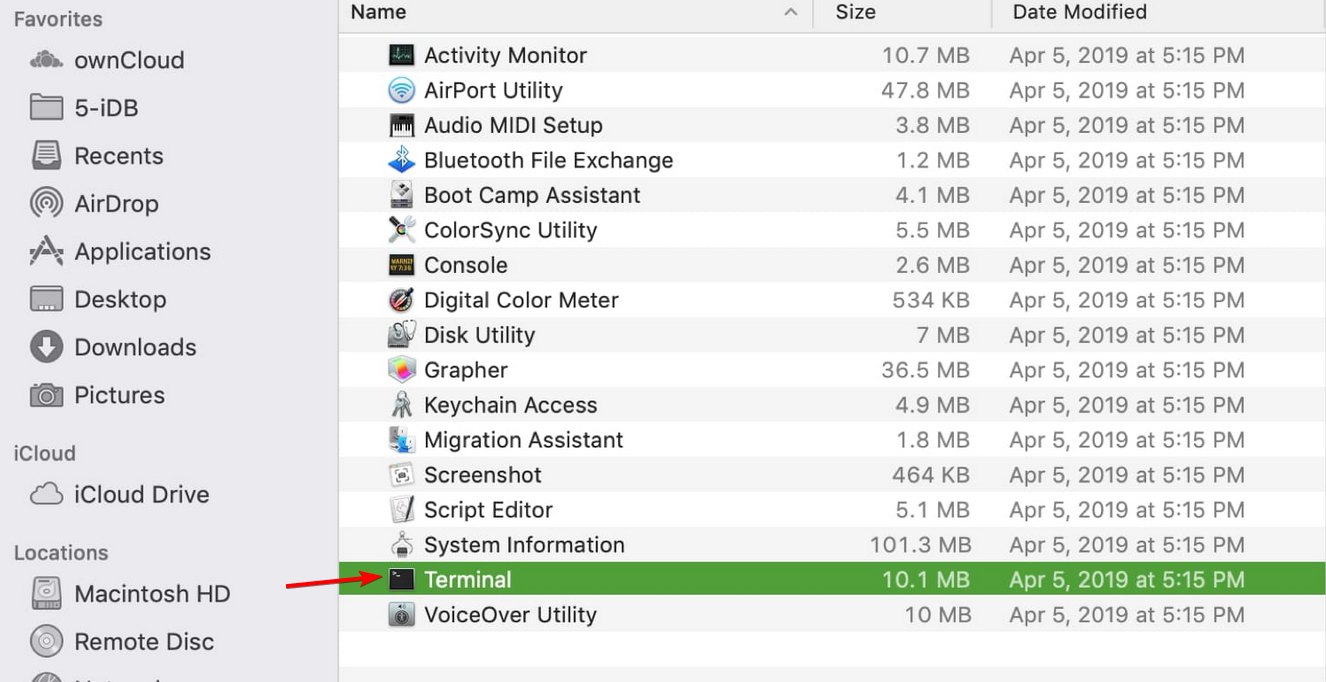
- Now run the following commands one by one:
cd /csrutil disablerm -rf macOS\ Install\ Data/– if the command won’t run due to lack of permissions, be sure to add sudo before the commandcsrutil enablereboot
Try to install the update again.
3. Reinstall macOS from the recovery mode
- Turn off your Mac and start it again.
- Press and hold Command + R until you see the Apple logo or any other startup screen.
- When the macOS Utilities window appears, select Reinstall macOS and click on Continue.
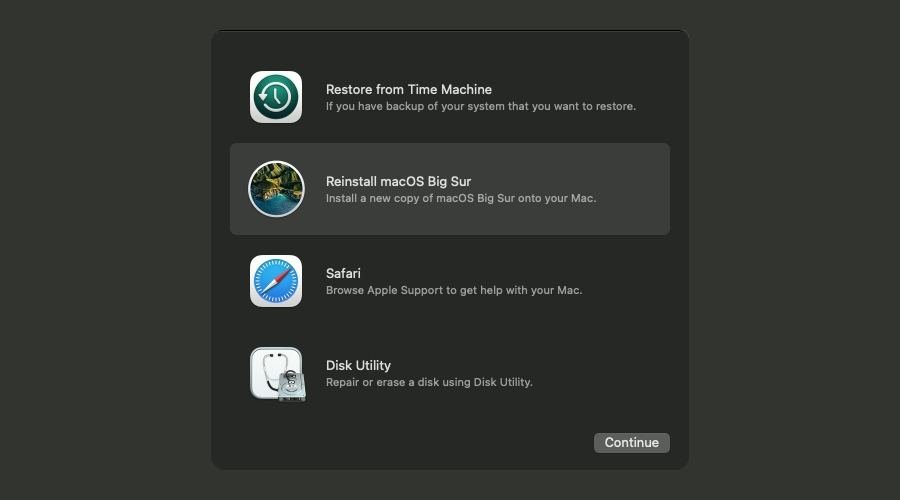
- Follow the instructions to complete the reinstallation process.
After doing that, try to upgrade your macOS again. Several users reported that this method worked, so you might want to try it out.
4. Create a bootable USB and perform a clean install
- Download the macOS installation. If the installer starts automatically, disable it.
- Go to the Applications folder and you should see an app called Install macOS (version name).
- Connect a USB flash drive to your Mac. You need a drive with at least 12GB of storage and formatted as Mac OS Extended.
- Open Terminal from the Applications folder.

- Run the following command:
sudo /Applications/Install\ macOS\ Catalina.app/Contents/Resources/createinstallmedia --volume /Volumes/Name_of_your_USB_drive - Enter your administrator password when and press Y to confirm that you want to erase the volume.
Note: This example is for macOS Catalina, it will be different if you’re trying to install another version of macOS. Also, be sure to replace the Name_of_your_USB_drive with the actual name of your flash drive.
To boot from the drive, do the following:
- Back up your important files.
- Make sure that your USB drive is connected.
- Restart your Mac.
- While the device boots, hold the Option key until the Startup Manager appears.
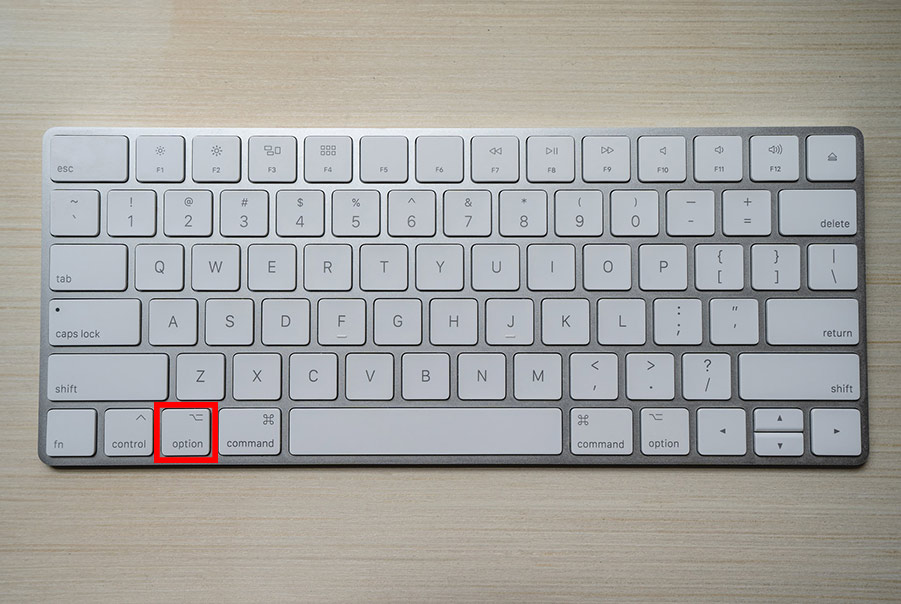
- Select your USB flash drive.
- Select Install macOS and click Continue.
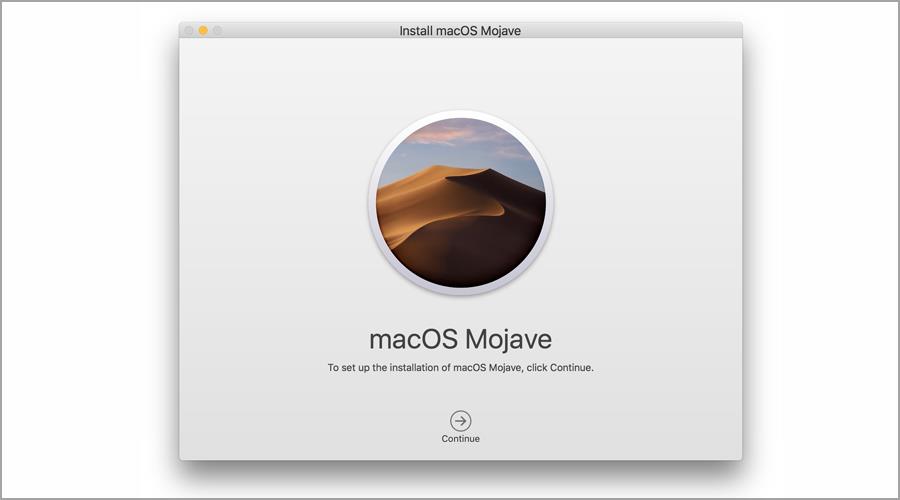
- Follow the instructions on the screen to complete the process.
If macOS installation couldn’t be completed, the problem is most likely a glitch with your system, and you should be able to fix it using our solutions.

