Apple’s Calendar app is a pretty handy tool. It can do many of the basic things you might expect from software like this, such as keeping track of your appointments and life events.
Calendar can also do some neat things like connect to other calendars across your many internet accounts and support Siri. You can do more detailed things with the app like give yourself a notice of when to leave for an appointment and add a map to an event.
For a seemingly simple app, it can do a lot. However, problems do arise with Mac Calendar, namely getting a server error. This guide will cover what you can do when this happens.
Why I am getting a server error in the Mac Calendar?
It’s difficult to pin down the one thing that causes server errors occurring with the Mac Calendar app. More than anything else, there could be a connection coming from Apple’s side.
We strongly recommend checking out Apple’s System Status page which tells you the statuses of the company’s various services. There isn’t one specifically for the Calendar app, but there is an entry for various Mac-related services.

If anything Mac-related is down, this could cause problems for Calendar. At the time of this reading. there were problems with Apple Card which would’ve people from purchasing items with this service.
While not Mac-related, it’s a good example of what to look out for. In other cases, something on your side could be the culprit. It could be that the operating system hasn’t been updated yet or the cache is making Calendar act strangely.
With that said, here are five solutions that you can try out to solve server errors occurring on the Mac Calendar app.
How do I fix Apple Calendar if the server responded with an error?
1. Refresh the app
- First, click the Calendar on the bar below.

- Click View in the top bar.

- Click Refresh Calendars in the drop-down menu. In this guide, the entry is not highlighted but it should be if instances of connection problems.

- Check again if your Calendar app is working.
2. Reactivate the Calendar app
- Click the Apple logo in the upper left-hand corner and select System Preferences.

- Under System Preferences, click Internet Accounts.

- Select the internet account that’s tied to your Calendar app. In this example, we’ll use a Gmail account, but it’s all the same.

- Uncheck the box next to Calendars.

- Restart your Mac computer by clicking the Apple logo and selecting Restart.

- Return to System Preferences and click the box next to Calendars to re-enable it.
3. Resetting NVRAM or PRAM
- Be aware of where the Option, Command, P, and R keys are located on your keyboard but don’t press them yet.
- Turn off your Mac computer.

- Turn your Mac back on, and as soon you do, hold the Option, Command, P, and R keys are the same time for 20 seconds.
Be aware that you can only perform these steps if you have an Intel-based Mac. That means your computer must be running on a processor from Intel.
If you’re using either an M1 or M2 Mac computer, these steps won’t work. You’ll have to try any of the other solutions first.
4. Boot in Safe Mode and delete cache
- Turn off your Mac and turn it back on. Do not restart your computer otherwise, the solution won’t work.
- As soon as your computer boots, press and hold the Shift key. This will boot your computer in Safe Mode.
- You’ll know if your computer is in Safe Mode when you see the words appear in red letters in the upper right-hand corner.

- Log in as normal.
- You can try connecting your Calendar app to Mac servers.
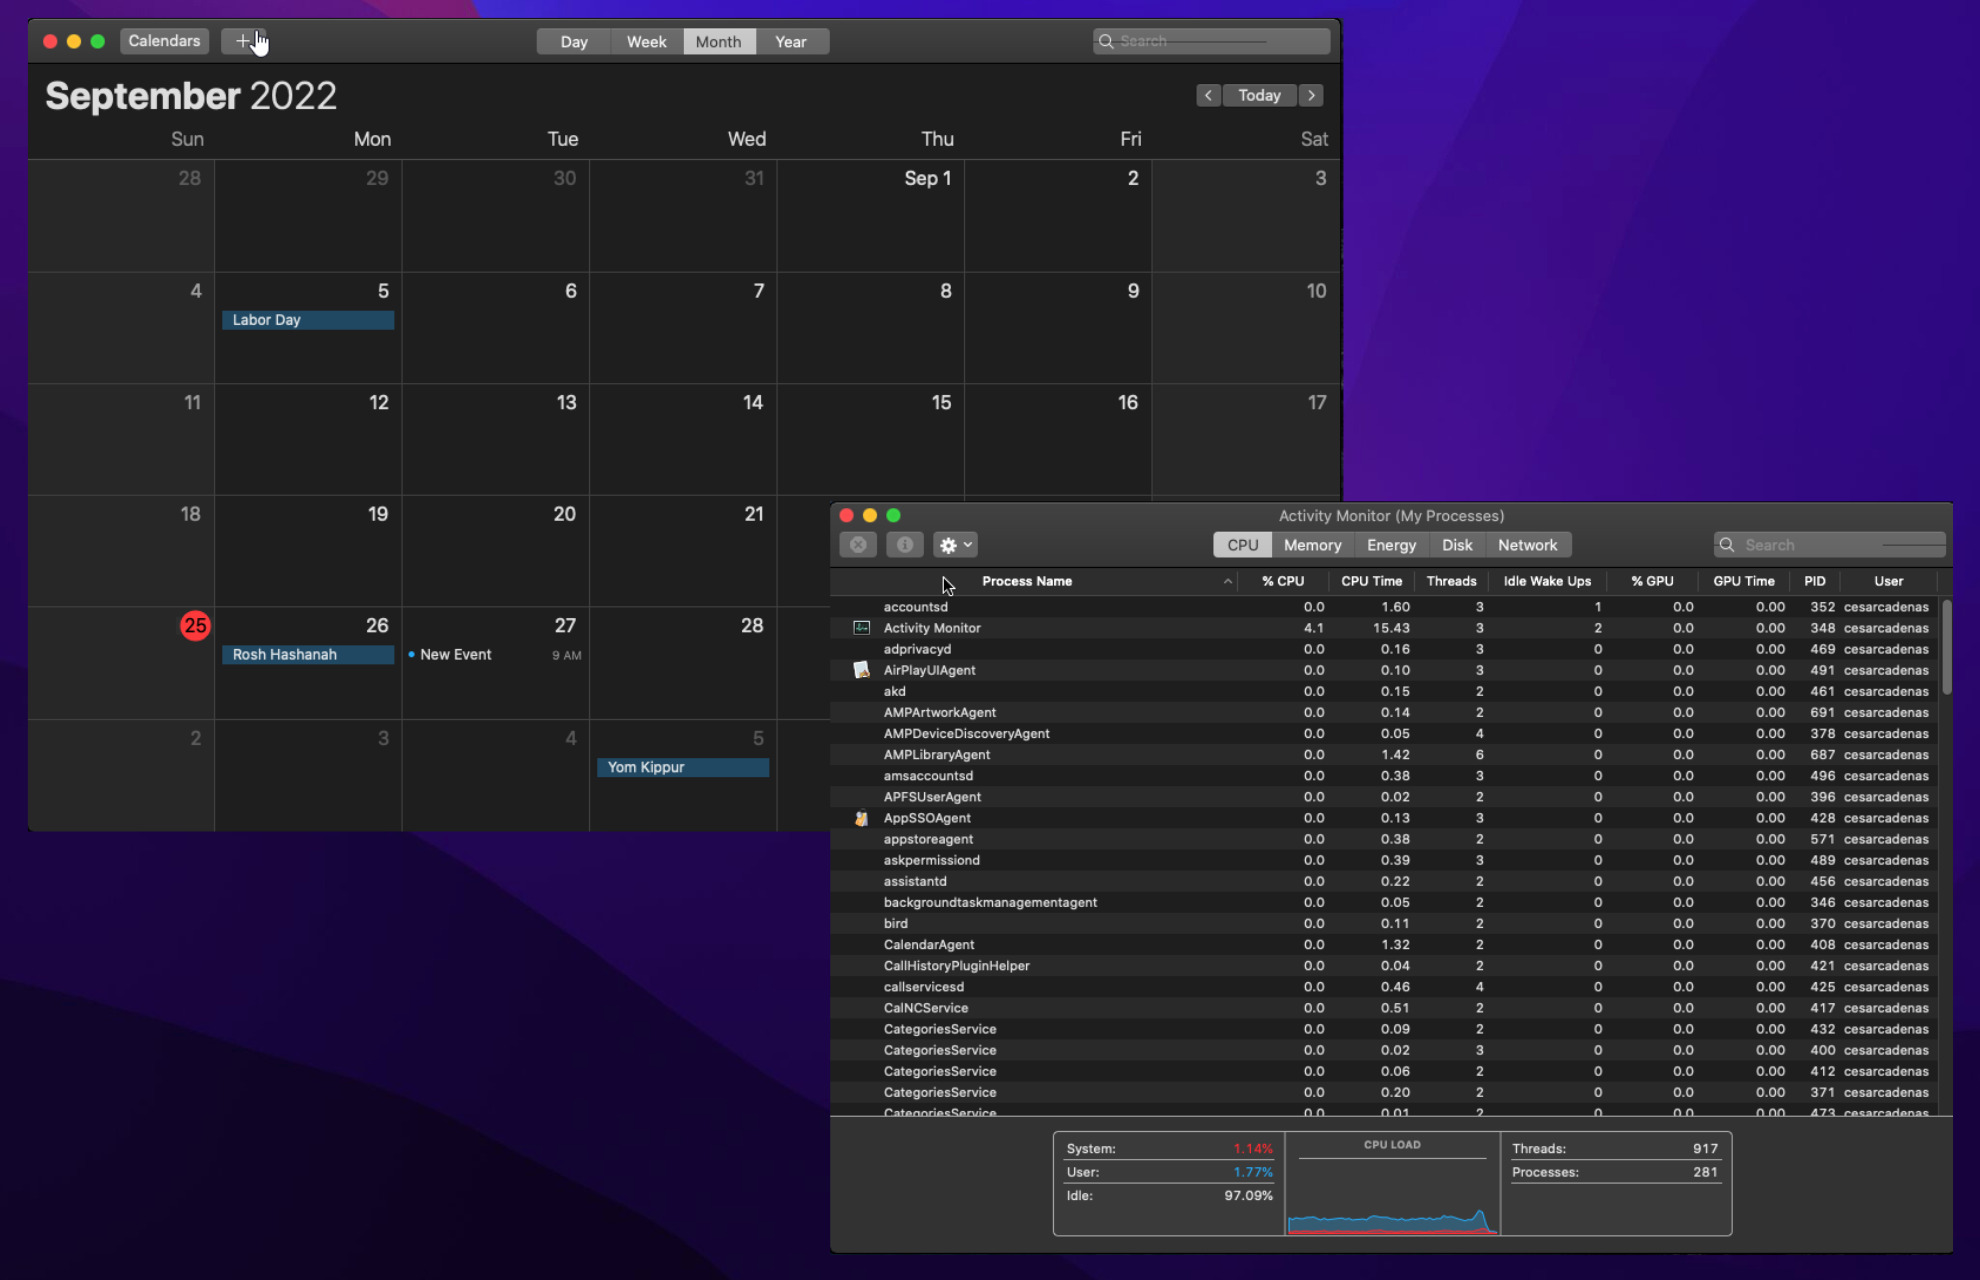
- If that doesn’t work, click the magnifying glass in the upper right corner and search for the Activity Monitor.

- Double-click the Calendar Agent entry and click the Quit button.

- From there, open the Finder program by clicking the face icon in the bottom menu bar.

- In the Finder, go to the Library and click the Calendars folder.

- In the folders, delete the following files: Calendar Cache, Calendar Cache-shm, and Calendar Cache-wal.

- Return to Library and open Preferences.

- Locate the file titled com.apple.iCal.plist.

- Drag that folder out to the desktop.

- Restart your Mac and open the Calendar app.
5. Revoke permissions from Google account
- These steps are specifically for removing your Google account permissions from your Mac.
- Open the Activity Monitor from the previous step and end the CalendarAgent process.
- Now go to the Internet Accounts section under System Preferences.
- Highlight the Google account and click the Minus button on the bottom left corner.
- A window will appear asking if you want to delete it. Select OK.

- Now to the Permissions section of your Google account.
- Locate the MacOS entry and click it.
- Click the Remove Access button.

- Now on your Mac computer, open the Finder app and go to Library.
- Delete the entire Calendars folder.

- Open the Preferences folder.
- Delete the com.apple.iCal.plist file.
- Restart the computer.
- Go back to Internet Accounts in System Preferences and add your Google account like before.
- Open the Calendar and everything should be fixed.
How do I close Calendar Agent on Mac?
CalendarAgent is the backend part of the Calendar app on macOS. It’s what connects and works with other apps on your Mac computers like Reminders or Contacts. Sometimes problems with CalendarAgent cause syncing issues.

This guide already covered how to close CalendarAgent on macOS, so just to give a brief rundown, you’ll need to open the Activity Monitor. From there, you close CalendarAgent in the listing, double-click it, and select the Quit button. It’s a lot like the Task Manager on Windows PCs.
This will close CalendarAgent. Restart your computer and open the Calendar app to see if it functions properly.
Feel free to comment below if you have any questions regarding these steps. Also, do not hesitate to comment about guides you’d like to see or information about other Mac processes.